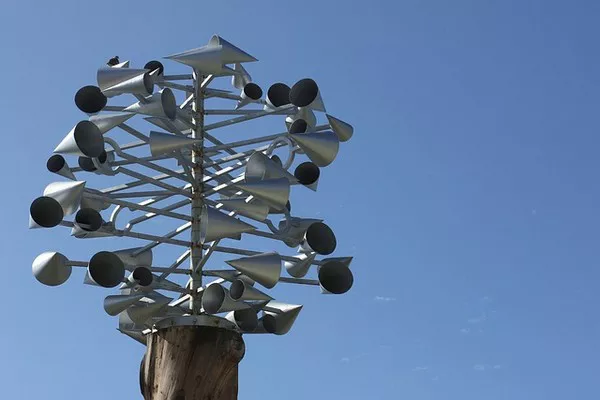
Anemometers play a crucial role in measuring wind speed, providing valuable data for meteorologists, researchers, and weather enthusiasts alike. While commercial anemometers are readily available, crafting your own can be a rewarding and educational experience. In this article, we’ll guide you through the process of making a straightforward yet effective anemometer using readily available materials. By following these steps, you can gain a deeper understanding of wind measurement principles while creating a functional device for your personal weather observations.
Materials Needed:
Before diving into the construction process, gather the following materials:
- Four small cups (e.g., plastic or paper cups)
- Drinking straws (4)
- Wooden dowel or pencil
- Thumbtack
- Ruler
- Compass
- Small paper or plastic plates (2)
- Stopwatch or smartphone with a timer
- Glue or tape
- Marker or pen
Building the Anemometer:
Step 1: Cup Preparation
Begin by taking the four cups and marking the center of the bottom with a pen or marker. This will be the point where you attach the cups to the straws.
Step 2: Straw Attachment
Cut each straw in half to create eight shorter straw segments. Attach one straw segment to the bottom of each cup using glue or tape, ensuring the straw is centered over the marked point. This forms the rotor of your anemometer.
Step 3: Creating the Rotor
Pierce one end of each straw with a thumbtack, ensuring it goes through the straw’s side rather than the bottom. Connect the four straws to the wooden dowel or pencil, making a simple “X” shape. This assembly forms the rotor that will spin when exposed to wind.
Step 4: Base Construction
Take one of the small plates and attach it to the lower end of the wooden dowel or pencil using glue or tape. This serves as the base of your anemometer.
Step 5: Cardinal Direction Indicators
Use the compass to mark the cardinal directions (north, south, east, and west) on the second plate. Attach this plate to the top end of the dowel or pencil, ensuring the cardinal directions align with the corresponding directions on the plate.
Step 6: Calibration
Now that your anemometer is assembled, it’s time to calibrate it. Head outside to an open area with a consistent breeze. Hold your anemometer in the wind, allowing the cups to catch the air and spin the rotor. Use the stopwatch or timer to measure the time it takes for the rotor to make a certain number of rotations (e.g., 30 seconds). Repeat this process multiple times and calculate the average rotation time.
Interpreting Results:
To convert the average rotation time into wind speed, you’ll need to establish a calibration factor. Measure the diameter of the circle created by the rotating cups (distance between cup centers) and use the formula: Wind Speed (m/s) = Circumference / Rotation Time. Keep in mind that this homemade anemometer provides a qualitative measurement rather than precise wind speed data.
See Also: Can Anemometers Accurately Measure Water Flow?
Conclusion:
Creating your own anemometer can be a fun and educational project, offering insights into the principles of wind measurement. While this DIY device may not match the accuracy of professional anemometers, it provides an engaging way to explore meteorological concepts and conduct basic wind speed observations. Whether you’re a weather enthusiast, science student, or curious hobbyist, this hands-on project allows you to connect with the fascinating world of meteorology and enhance your understanding of wind dynamics.

